Blog
How to Spring Clean Your Chicken Coop
March 21, 2025
Spring Cleaning Checklist for Your Chicken Coop
Spring is officially here. With that in mind, now is a good time to plan a spring coop refresh.Especially if you live in a colder climate, your chicken coop is likely going to need some extra maintenance and TLC to get it ready for spring. Winter weather can take a toll on your enclosure, so it’s important to assess its condition ahead of peak laying season.
To give your chickens a fresh start, here are some essential tasks to prep your coop for spring:
1. Remove manure and bedding
2. Clean and disinfect coop supplies
3. Spray and disinfect your coop interior
4. Assess winter damage
5. Ensure coop is predator-proof
6. Check the health of your flock
Getting your coop ready for spring is a big job, but we’ll cover all the tools and supplies you need to get started.
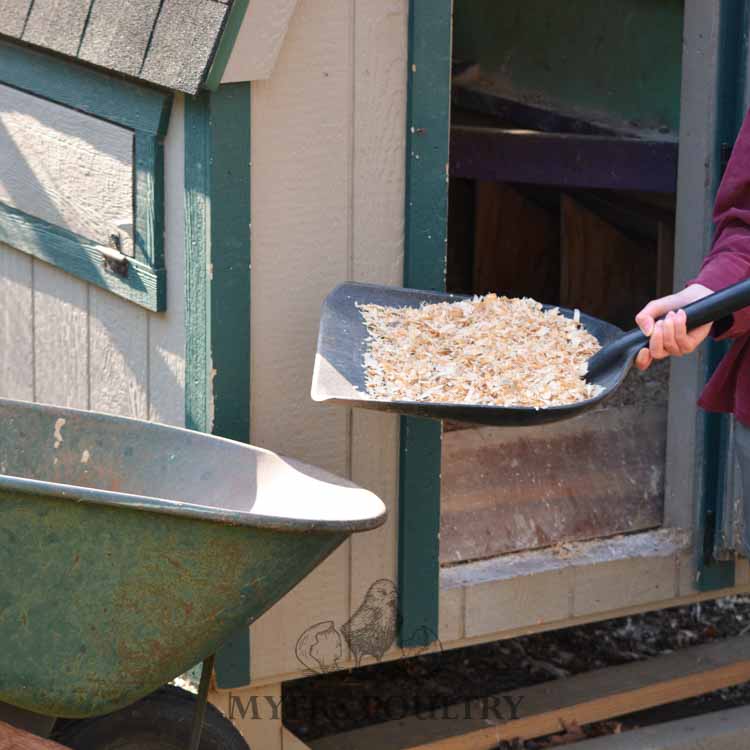
Remove Manure and Bedding
Before you begin spring cleaning your chicken coop, ensure all of your chickens are out of the enclosure.It's best to start by removing all of the manure and dirty bedding. Here are some tools we recommend you have on hand to get the job done:
· Shovel
· Pitchfork
· Broom
· Dustpan
· A stiff brush
· Drywall or putty knife
· Wheelbarrow
· A hose or pressure washer
· Pet-friendly cleaning solution
· Dust mask and gloves
· Pine shavings
Using a shovel or pitchfork, remove the bulk of the bedding and place it in a wheelbarrow for easy disposal. Use a dustpan and brush to clear any remaining debris on the floor or in nest boxes.
Once the dirty bedding is completely removed, you have two disposal options:
 1. Remove according to local regulations
You can dispose of your old manure and bedding according to your local regulations. It varies depending on location, so be sure to contact local waste management or county extension offices to see how you can dispose of your manure safely.In most cases, manure cannot go in regular trash due to safety and environmental concerns.
2. Compost and re-use old bedding
If you have a garden, we highly recommend you compost and re-use your bedding, as it can improve your soil health and act as a natural fertilizer. It also saves you the trouble of having to find a way to dispose of it properly. Keep in mind that you cannot put dirty bedding or manure directly on top of your soil. For it to be beneficial to your plants, it must be properly composted first.
Clean and Disinfect Coop Supplies
Once the bedding is removed, you can start cleaning and disinfecting items that you have in the coop. We recommend wearing a mask and gloves to protect yourself from bacteria and dust.
First, take out all of your feeding stations and waterers and wash them out thoroughly with warm, soapy water.
Scrape down roosting bars, perches, walls, and flooring with a drywall knife to remove dried on manure. You can also use a stiff brush to loosen any debris. Be sure to place all manure and dust into your wheelbarrow for proper disposal or to compost later.
 If needed, you can spray down heavily soiled areas with a gentle, pet-friendly disinfectant. Some growers prefer to use a diluted mix of vinegar and water.
You should never use bleach or harsh chemicals in your coop, as chickens have very sensitive respiratory systems.
You should never use bleach or harsh chemicals in your coop, as chickens have very sensitive respiratory systems.
To keep your chickens happy and productive, you’ll want to make sure your nesting pads and nest boxes are thoroughly cleaned as well.
If using plastic nesting pads, these can be hosed down and left to air dry. Nesting boxes can be scrubbed with a stiff brush and disinfected with a pet-friendly cleaner if heavily soiled.
Before allowing your hens to resume use, make sure everything is thoroughly rinsed and air dried.
Spray and Disinfect Your Coop
Depending on your local climate conditions and how much you maintained your coop over the winter, you may only need a light refresh before putting down a fresh layer of pine shavings.
However, if your coop still has a strong smell of manure or ammonia even after you have scraped everything down, a deeper clean will be necessary. We recommend spraying out the interior with a hose or pressure washer and letting it thoroughly air dry.
Before you begin, ensure that your coop is made of treated or sealed wood. Untreated wood will absorb moisture and become moldy, so it’s best to avoid getting it excessively wet.
Once you have sprayed down the interior, sweep out any excess water and keep all doors and windows open until the interior has fully dried. We recommend doing this deep clean on a hot and dry day to ensure your coop will air out thoroughly.
As soon as the coop is dry, you can lay down fresh bedding (about 2-4 inches thick) and put all of their coop supplies back. You now have a fresh, clean slate for your chickens.
Assess Winter Damage
Once the coop is fully cleaned out, you can evaluate any structural damage to your enclosure from winter weather.
Rain, snow, and ice can cause wood to expand and contract, leading to cracks or warped boards. When you are assessing your coop, look for the following:
• Holes or gaps that could let in drafts or pests. These will need to be sealed.
• Any loose boards, roofing, or siding that needs to be replaced.
• Moisture damage or signs of mold, as this can make your birds sick.
If needed, reseal or reinforce the wood to protect against future moisture damage before the next winter season.
If you need to make extensive repairs or are starting from scratch, this blog covers a great DIY coop build that will give your chickens a great home and a safe enclosure.
Making these repairs will also be helpful in protecting your flock against predators, which leads us to our next point.
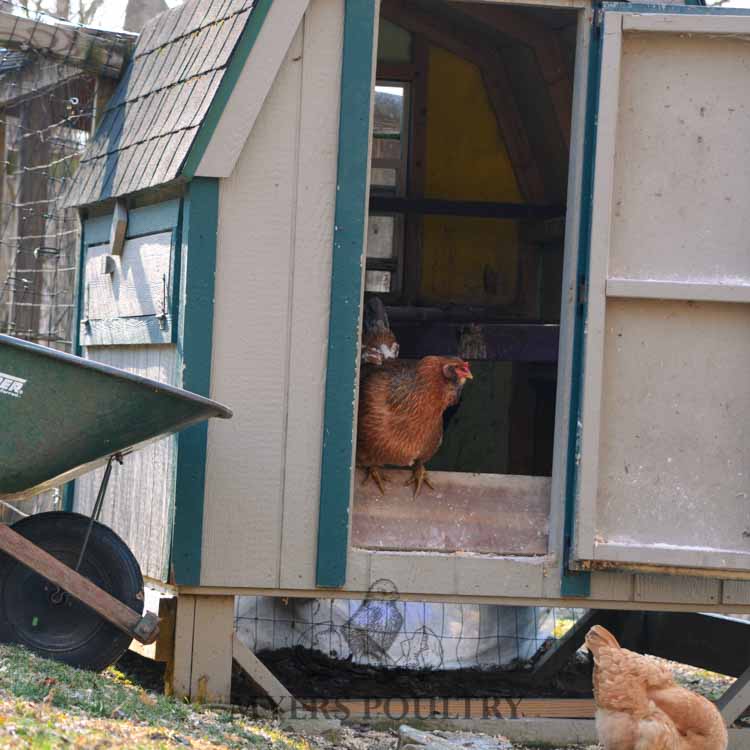
Ensure Your Coop is Predator-Proof
Over the winter, predators may have burrowed, chewed, or loosened your coop barriers without being noticed. Now that the snow and ice have melted, you can assess any weak spots and shore up your defenses.
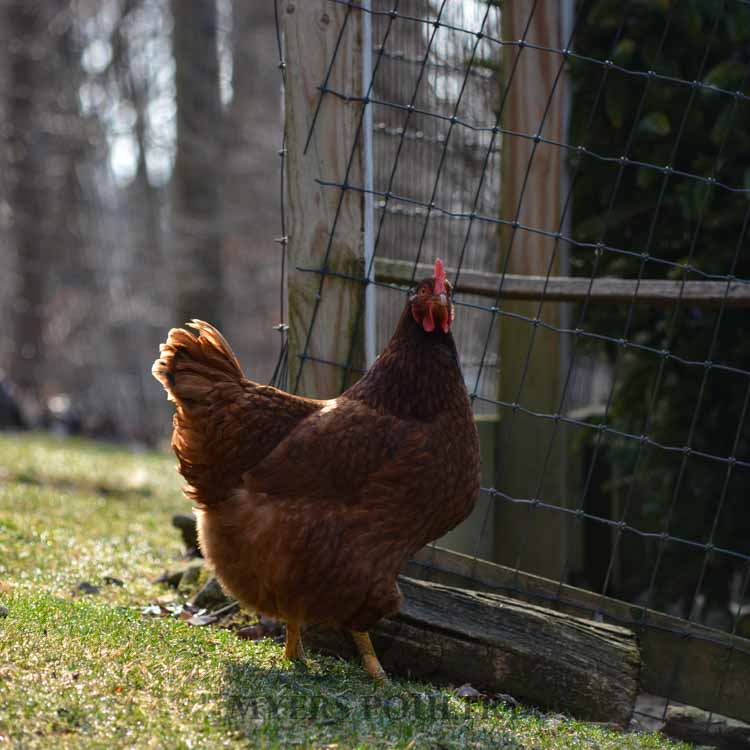 Start by checking your fence for gaps, loose wires, or signs of burrowing.
Heavy snow and ice can strain the structure as well, so repairs may be needed to make it secure.
If you use hardware cloth or chicken wire, check that it’s still firmly attached and hasn’t been chewed.
Inside the coop, test latches and locks to make sure they’re still tight and functioning properly.
Cold weather can cause wood to warp which may loosen closures, making them easier for predators to breach.
Another great way to protect your flock is by adding a solar powered light to the exterior of your coop. It can be especially helpful in areas of your coop where you already know predators try to breach.
The Myers Poultry team highly recommends this solar powered light. It activates automatically when it gets dark, and easily withstands harsh weather. It has done a great job of protecting our flocks in the past, and we highly recommend it as another layer of protection.
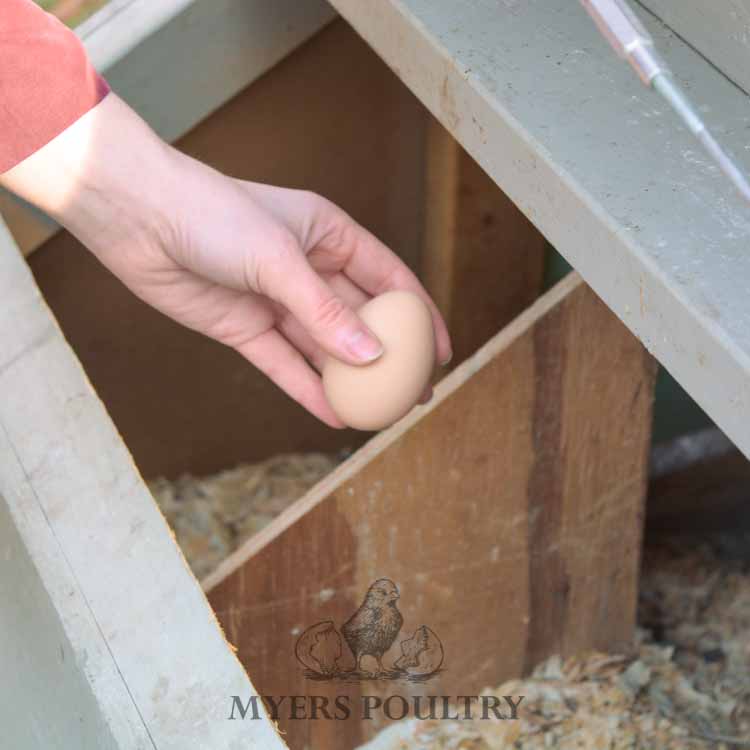
Check the Health of Your Flock
A thorough spring cleanout isn’t just about the coop—it’s also the perfect time to assess the well-being of your chickens. Happy, healthy hens will be consistent and productive layers, which is exactly what you want out of your flock.
Next, examine their feet and nails. Long nails may need trimming, which can be done with dog nail clippers.
Locate the quick (the blood vessel in the nail) and clip below it to avoid any damage to their nails. Take it from us—it definitely helps to have two people to do this job.
Take a close look at their combs and wattles for any lingering signs of frostbite or skin damage from the cold months.
If you notice anything out of the ordinary, it’s a good idea to consult your nearest poultry veterinarian.
Start by gently parting their feathers to inspect their skin. Look for signs of lice or mites, such as redness, irritation, or feather loss.
Parasites tend to congregate around the vent and under the wings, so be sure to check those areas closely.
Parasites tend to congregate around the vent and under the wings, so be sure to check those areas closely.
Next, examine their feet and nails. Long nails may need trimming, which can be done with dog nail clippers.
Locate the quick (the blood vessel in the nail) and clip below it to avoid any damage to their nails. Take it from us—it definitely helps to have two people to do this job.
Take a close look at their combs and wattles for any lingering signs of frostbite or skin damage from the cold months.
If you notice anything out of the ordinary, it’s a good idea to consult your nearest poultry veterinarian.
Your Chickens Are Ready for Spring
With a clean coop and a full health check, your flock is ready to take on the busy season ahead. Cleaning a chicken coop after winter is a big task, but we hope our spring cleaning checklist made your coop cleanout a little easier.
Spring is one of the busiest times of year of Myers Poultry. If you're looking to expand or refresh your flock, now is the perfect time. Browse our selection of layer chickens to find the right additions for your farm or homestead. If you need help deciding, our friendly team is always available to help.
Spring is one of the busiest times of year of Myers Poultry. If you're looking to expand or refresh your flock, now is the perfect time. Browse our selection of layer chickens to find the right additions for your farm or homestead. If you need help deciding, our friendly team is always available to help.